Master the Art of Photorealistic Embroidery: A Step-by-Step Guide
Breaking Down the Article
- Introduction to Photorealistic Embroidery
- Choosing the Right Materials
- Preparing Your Image for Embroidery
- Digitising the Image
- Setting Up Your Embroidery Machine
- Embroidering Your Design
- Finishing Touches
- Expert Tips for Stunning Results
Introduction to Photorealistic Embroidery
Photorealistic embroidery is a technique that allows you to transform images into detailed, lifelike designs using threads. It involves intricate stitching and a keen eye for detail. Whether a beginner or a seasoned embroiderer, mastering this art can elevate your projects to a whole new level. Let's delve into the process of creating stunning photorealistic embroidery, starting with the basics.
Choosing the Right Materials
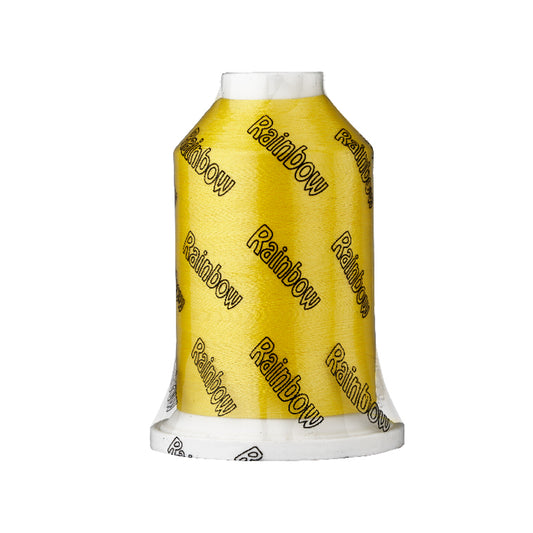
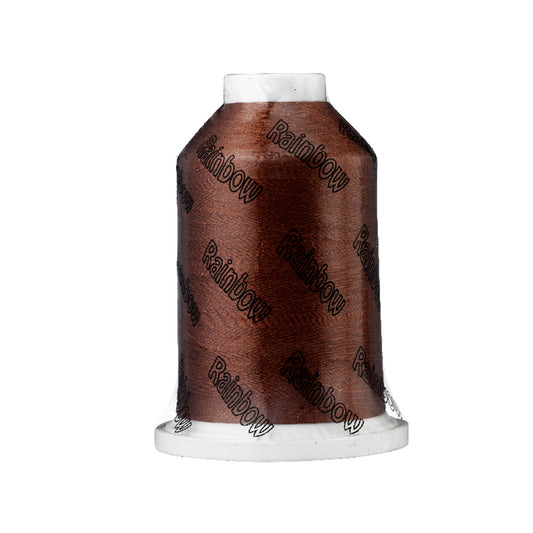
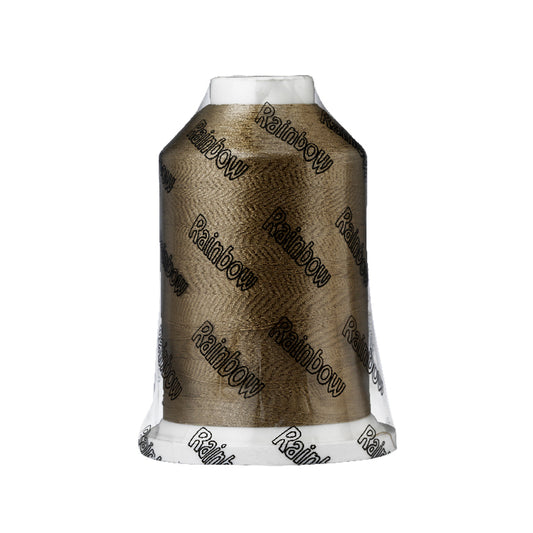
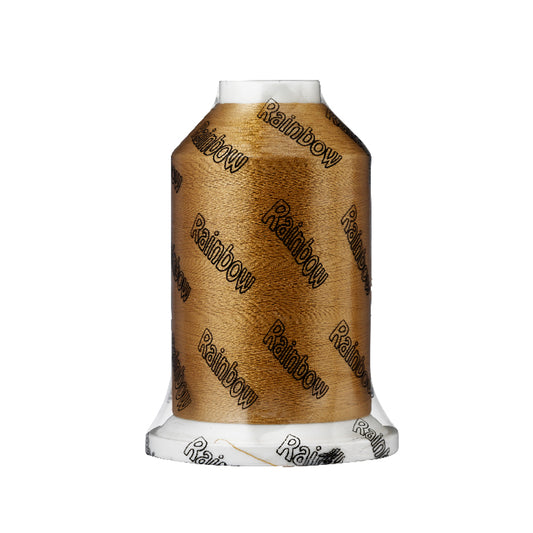
The foundation of any great embroidery project lies in choosing high-quality materials. Start with a strong, durable fabric that can withstand multiple stitchings. Cotton, linen, or polyester blends are excellent choices. Next, select threads that provide vivid colours and a smooth finish. At First Trim, we offer a range of polyester threads known for their sheen and durability, perfect for photorealistic designs.
Preparing Your Image for Embroidery
Choosing the right image is crucial. Opt for high-contrast, clear images with distinct shapes and colours. This will simplify the digitisation process and ensure your final design is easily recognisable. Simple images with fewer details work best, especially for beginners, as intricate images can become overwhelming.
Digitising the Image
Digitisation is the process of converting your chosen image into a format that your embroidery machine can read. This involves breaking down the image into sections and assigning stitch types and colours to each part. Software such as Wilcom or Hatch can aid in this process. Begin by importing your image into the software, then trace the outlines and fill them with the appropriate stitch patterns. Adjust the density and direction of the stitches to match the contours and shades of the image.
Setting Up Your Embroidery Machine
Before you start embroidering, ensure your machine is correctly set up. Choose the proper hoop size, and secure your fabric tightly within it to prevent shifting. Thread your machine with the selected colours in the correct sequence. Consider using a small test patch to check for any adjustments needed in tension or stitch type.
Embroidering Your Design
Once your machine is set up, you can begin the embroidery process. Follow the digitised pattern step by step, watching closely as your design takes shape. It can be helpful to slow down your machine's speed to maintain control and precision. Frequently check your work to ensure accuracy and make any necessary adjustments.
Finishing Touches
After the embroidery is complete, carefully remove the fabric from the hoop. Trim any excess threads and clean up the design. Gently press your fabric to remove any wrinkles and give your piece a polished look. If needed, back your fabric with a stabiliser to maintain its shape and structure.
Expert Tips for Stunning Results
To achieve the best results, consider the following expert tips:
- Use a variety of thread colours to create depth and dimension.
- Match your thread type to your fabric to prevent puckering or tearing.
- Regularly maintain your embroidery machine for optimal performance.
- Practise different digitising techniques to perfect your skills.
First Trim's Hot Take
Creating photorealistic embroidery is a rewarding and challenging endeavour. With the right materials, tools, and techniques, you can transform any image into a beautiful embroidered piece. Remember, practice makes perfect. Don't be discouraged by initial challenges; each project will sharpen your skills and bring you closer to mastering the art of photorealistic embroidery. At First Trim, we are committed to providing top-quality threads and supplies to support your creative journey. Dive into the world of embroidery and let your imagination guide you to new artistic heights!
Original Article: https://zdigitizing.com/how-to-make-photorealistic-embroidery/