Transform Your Sweaters with Trendy Side Seam Appliqué Bows
Breaking Down the Article
- The appeal of sweaters and enhancing them with embroidery.
- Introduction to side seam appliqué bows as the latest trend.
- A step-by-step guide to creating side seam appliqué bows.
- The materials required for the embroidery project.
- Detailed tutorial instructions.
- Promo for additional embroidery designs and savings through the Embroidery Legacy Design Club.
Enhancing Sweaters with Side Seam Appliqué Bows
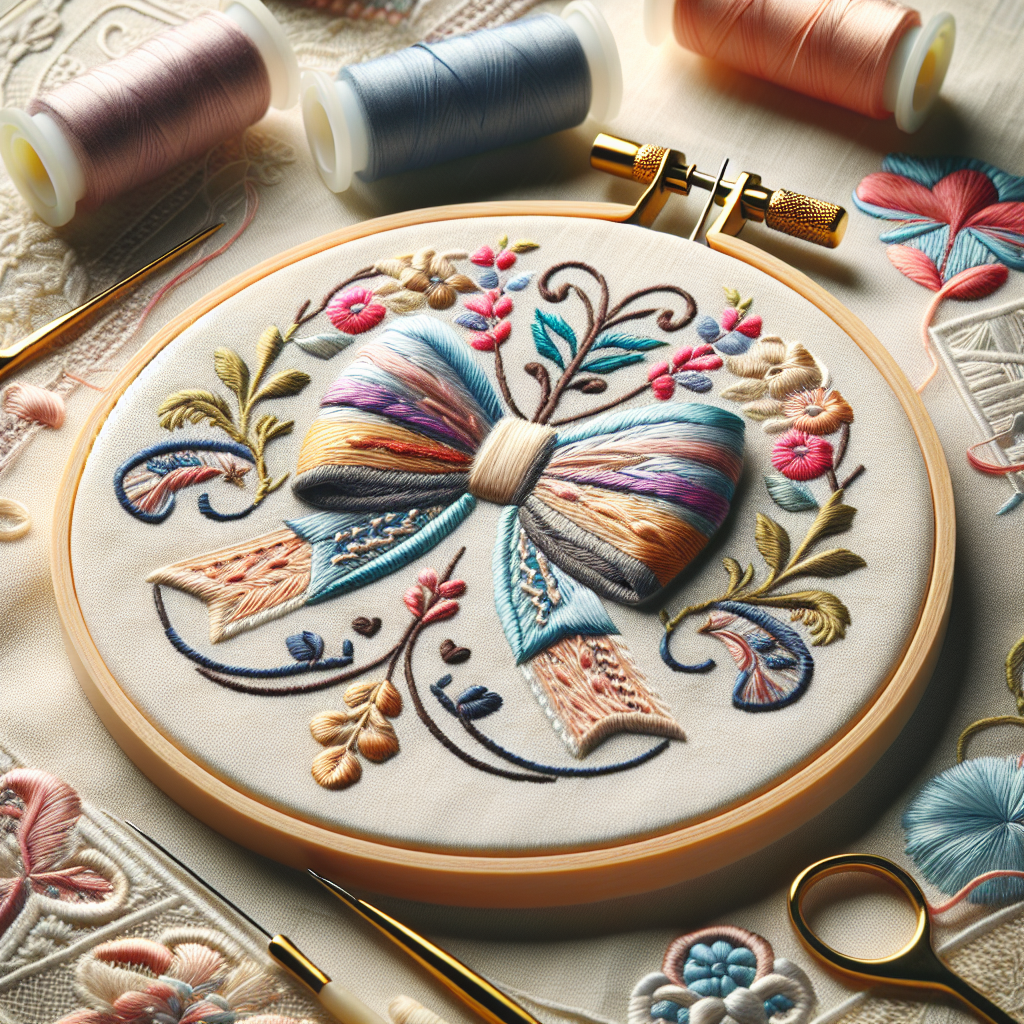
Sweaters are a timeless wardrobe essential that keeps us warm and stylish. However, if you're looking to elevate your knitwear from the realm of basic to boutique, introducing side seam appliqué bows could be the perfect solution. These whimsical adornments have taken the embroidery world by storm, offering a festive and personalised flair to any garment. In this tutorial, we'll lead you through creating these charming bows step by step, so you can join the trend and make your sweaters stand out this season.
If you learn better through visuals, make sure to watch our detailed video tutorial below!
Materials for Side Seam Bow Embroidery Design
To get started on your side seam bow project, you'll need the following materials:
- 8” x 8” hoop
- Wash-away stabilizer
- Two pieces of fabric measuring 6” x 6”
- Four pieces of fabric measuring 3” x 3”
- Two pieces of fabric measuring 2.5” x 2.5”
- Temporary adhesive spray
- Masking tape
- Fabric scissors
- Double curve scissors
- Sweater
- Embroidery design, such as our reindeer bow side seam embroidery design (available as a free download!)
If these designs catch your interest, be sure to explore our other Cutaway Side Seam Bow Appliqué designs and save 90% on high-quality embroidery patterns by joining our Embroidery Legacy Design Club.
Side Seam Bow Embroidery Design Tutorial
Follow these steps to create your very own side seam appliqué bows:
Step 1:
Hoop the wash-away stabilizer.
Step 2:
Place your hoop in the machine and run the cutline for the design.
Step 3:
Use temporary adhesive spray to secure your sweater to the hoop. Align the seam line with the cutline’s centreline, ensuring the sweater’s bottom is also aligned with the cutline. Use masking tape for additional stability.
Step 4:
Insert the hoop into the machine and run the tack-down stitch.
Step 5:
Remove the hoop and carefully cut along the tack-down stitch, removing the sweater material.
Step 6:
Place the hoop back in the machine and run the placement stitch for the first appliqué.
Step 7:
Take out the hoop from the machine, and place two of the 3” x 3” fabric pieces over the placement stitch, covering it completely.
Step 8:
Return the hoop to the machine and stitch the tack-down.
Step 9:
Remove the hoop, and trim the excess fabric around the tack-down stitch.
Step 10:
Put the hoop back into the machine and run the placement stitch for the second appliqué.
Step 11:
Place the 6” x 6” fabric piece over the placement stitch, covering all the previous stitching.
Step 12:
Return the hoop to the machine and stitch the tack-down.
Step 13:
Remove the hoop and cut away the excess fabric around the tack-down stitch.
Step 14:
Insert the hoop back into the machine and run the final placement stitch.
Step 15:
Place one of the 2.5” x 2.5” fabric pieces over the placement stitch, covering all the previous stitches.
Step 16:
Return the hoop to the machine and stitch the tack-down.
Step 17:
Remove the hoop and carefully trim the excess fabric around the tack-down stitch.
Step 18:
Place the hoop back into the machine and run the final satin stitch around the design.
Step 19:
Remove the hoop and the design from the hoop, and trim any long threads from the back.
Step 20:
Trim away the excess stabilizer around the design, taking care not to cut into the satin stitch.
Step 21:
Using warm water and your fingers, wash away the remaining stabilizer around the design.
Step 22:
Repeat the entire process for the other side of your sweater.
Elevate Your Embroidery Game
With side seam appliqué bows, you can transform any sweater into a festive and fashionable piece. Whether creating for yourself or planning handmade gifts, this technique will bring smiles and compliments. We can't wait to see how you bring this trend to life!
Don't forget to explore all our high-quality embroidery designs! Save up to 90% by joining our exclusive Embroidery Legacy Design Club, where members enjoy various embroidery technique guides and more.
First Trim's Hot Take
Side seam appliqué bows are a delightful way to add creativity and personal touches to your winter wardrobe. They not only enhance the aesthetic appeal of your sweaters but also make perfect gifts. Investing a little time into learning this technique can significantly broaden your embroidery skills and portfolio. Jump on this trend and let your creativity shine!
Original Article: https://www.digitizingmadeeasy.com/how-to-embroider-cutaway-bow-designs/